|
|
|
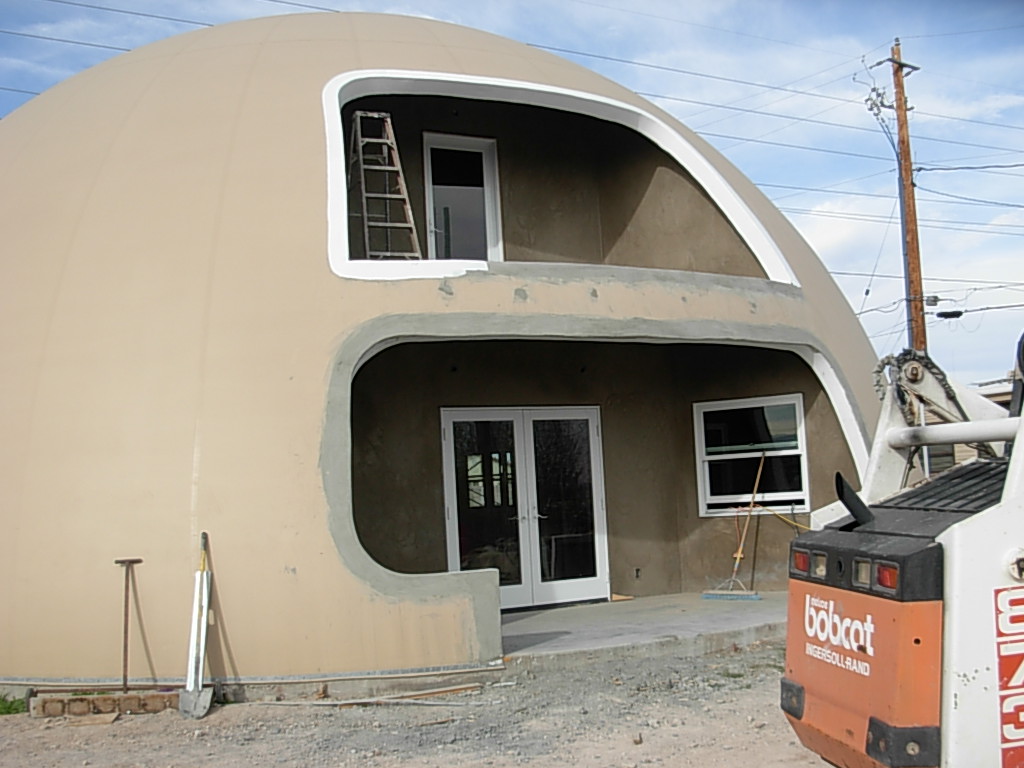
February 27, 2009
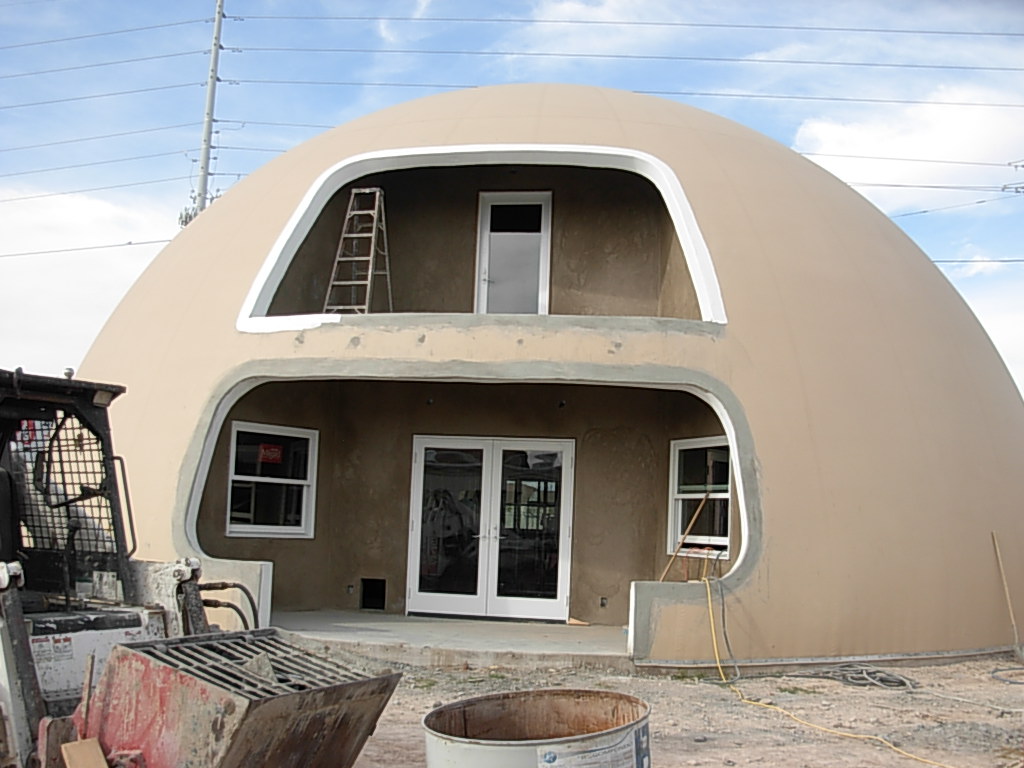
The "back" of the house and the beginning of its white paint sealer layer.
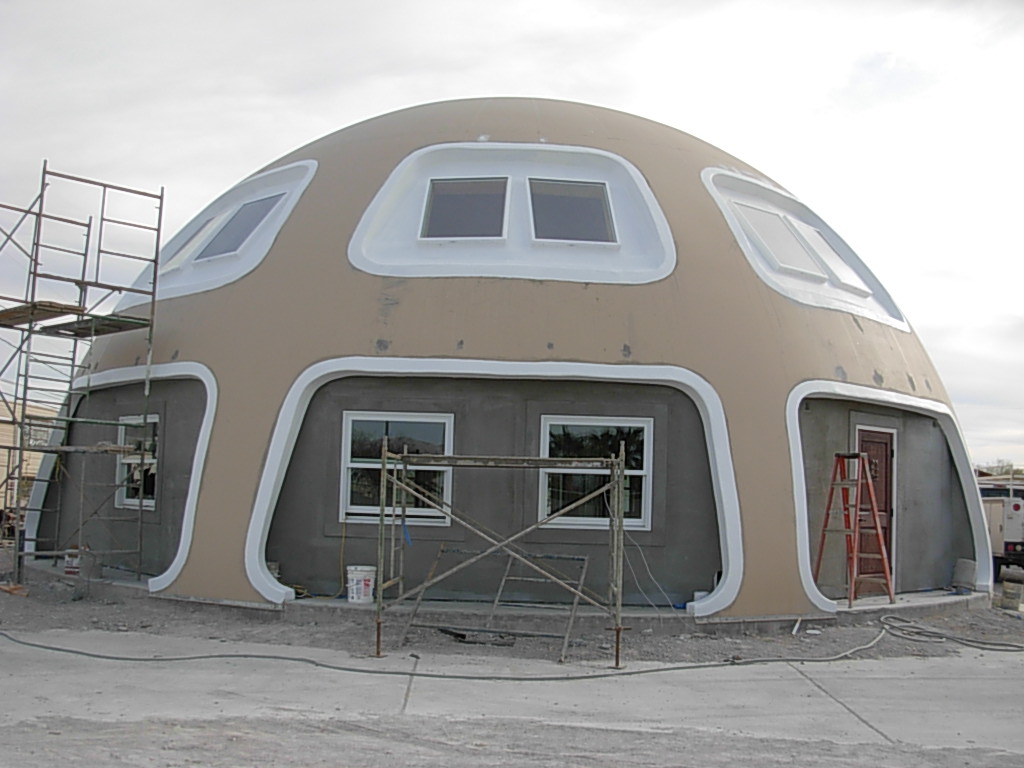
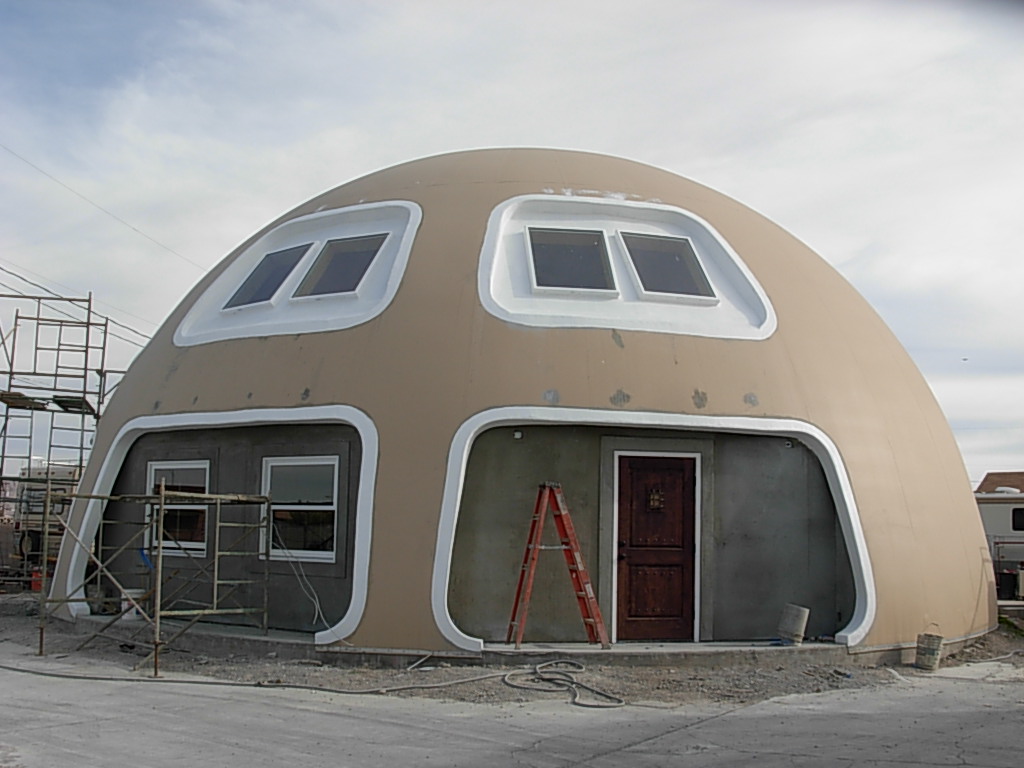
The "front" inset walls in their white finish.

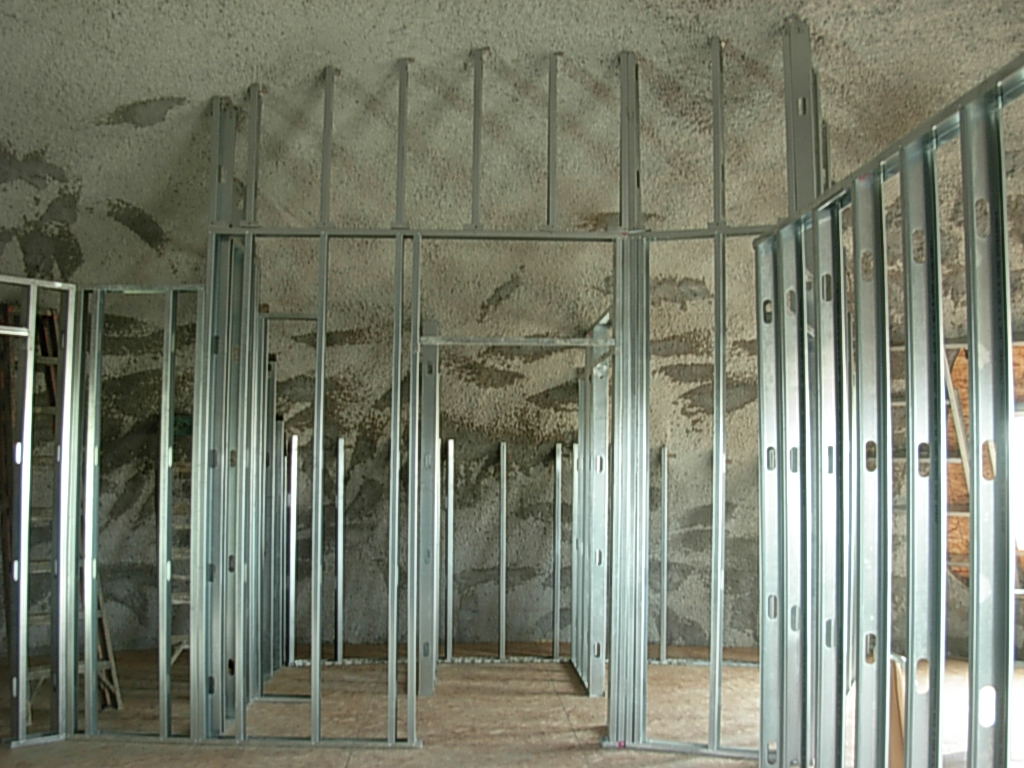
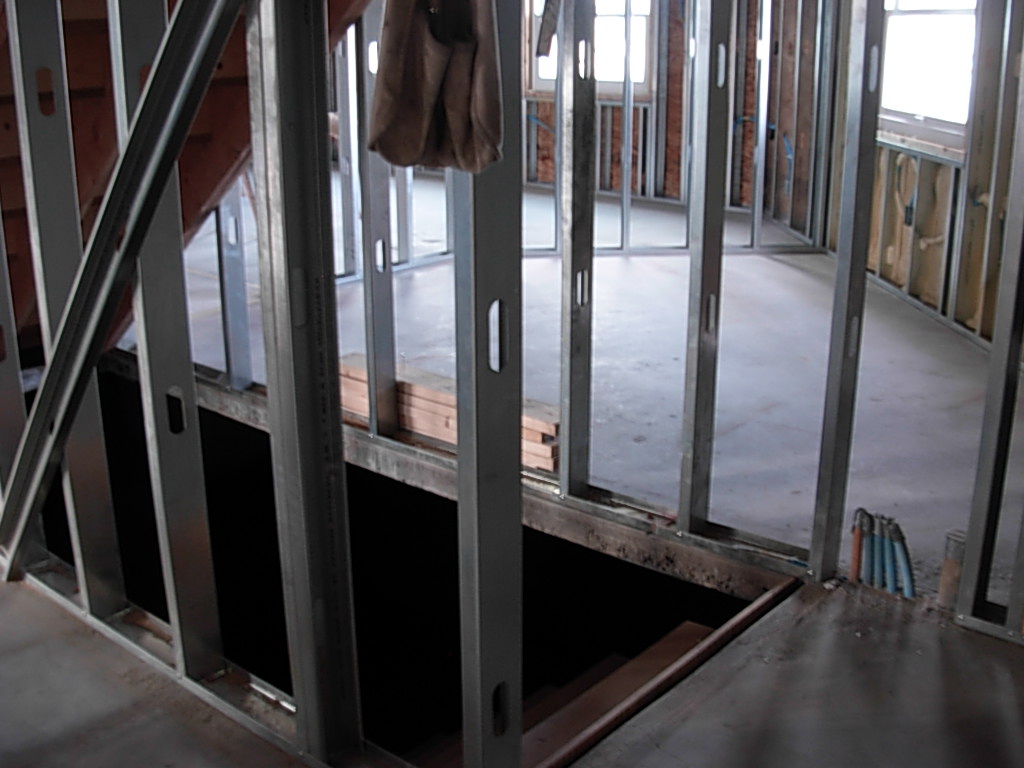
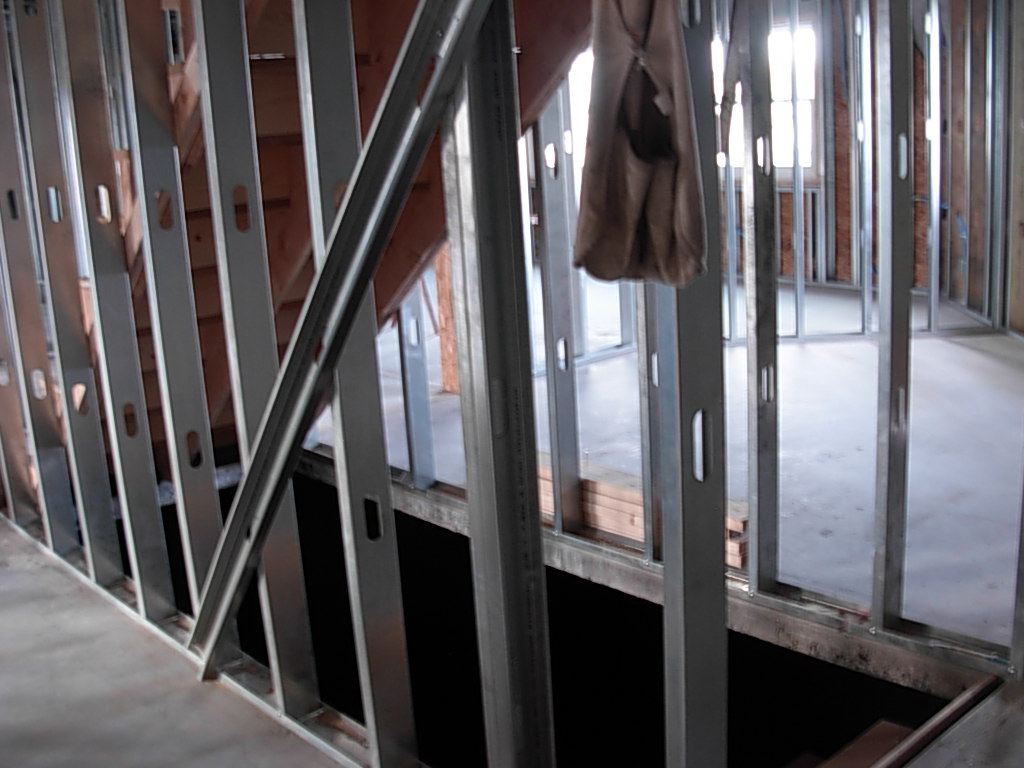
Looking down into the open egress.
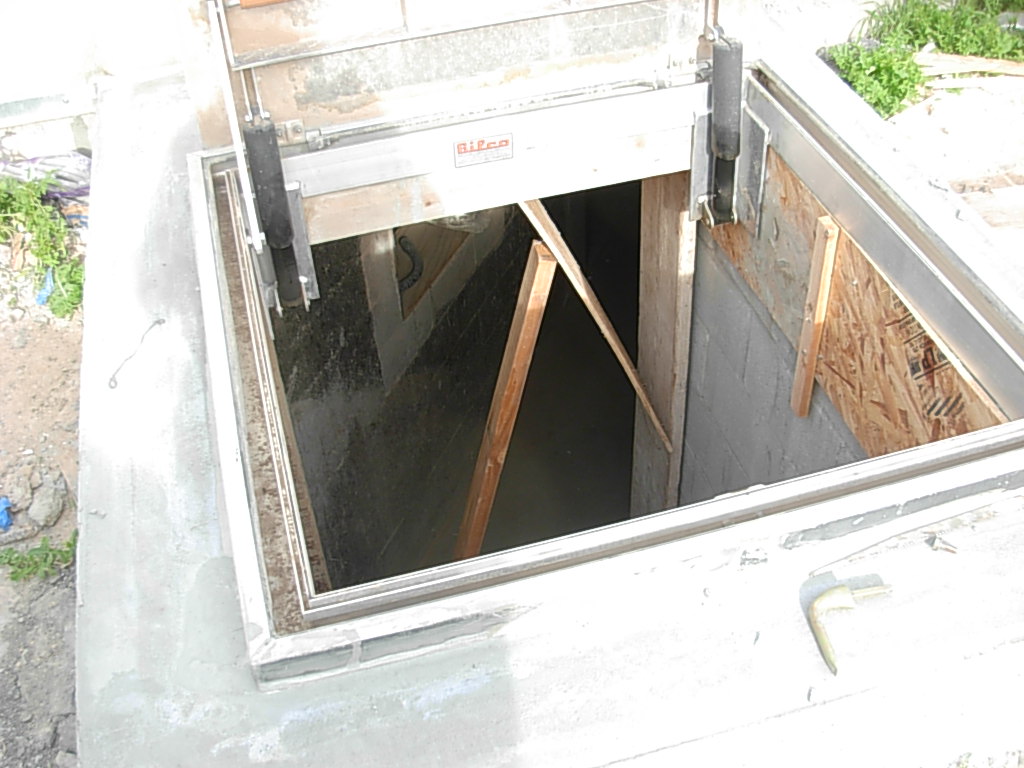
The passage leads to the basement doorway.
The passage separates the egress from the basement proper for safety, temperature and noise control.
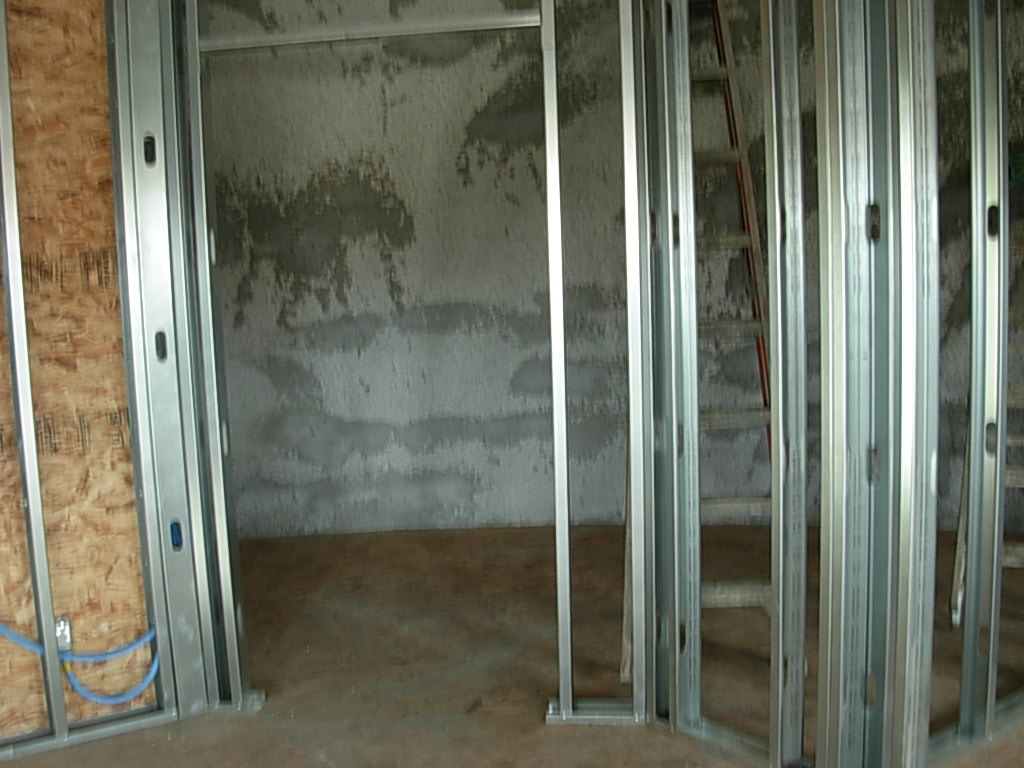
(Besides having to reach from the basement to beyond the dome's slab.) The cutout to the left in the passage wall is a window in the original basement wall.
This will probably end up a see through "trophy" case or some such. You can get an idea of just how thick the
basement walls are by the wood in the window opening forming its inside framing. The other three original basement windows
will become single sided storage/display cases, as the old wells that they were in were covered by the new slab.
The egress passage has the only visible cinder block in the house.
It is rebar and cement filled and all inside basement walls have a rebar/shotcrete layer for "earthquake" protection.
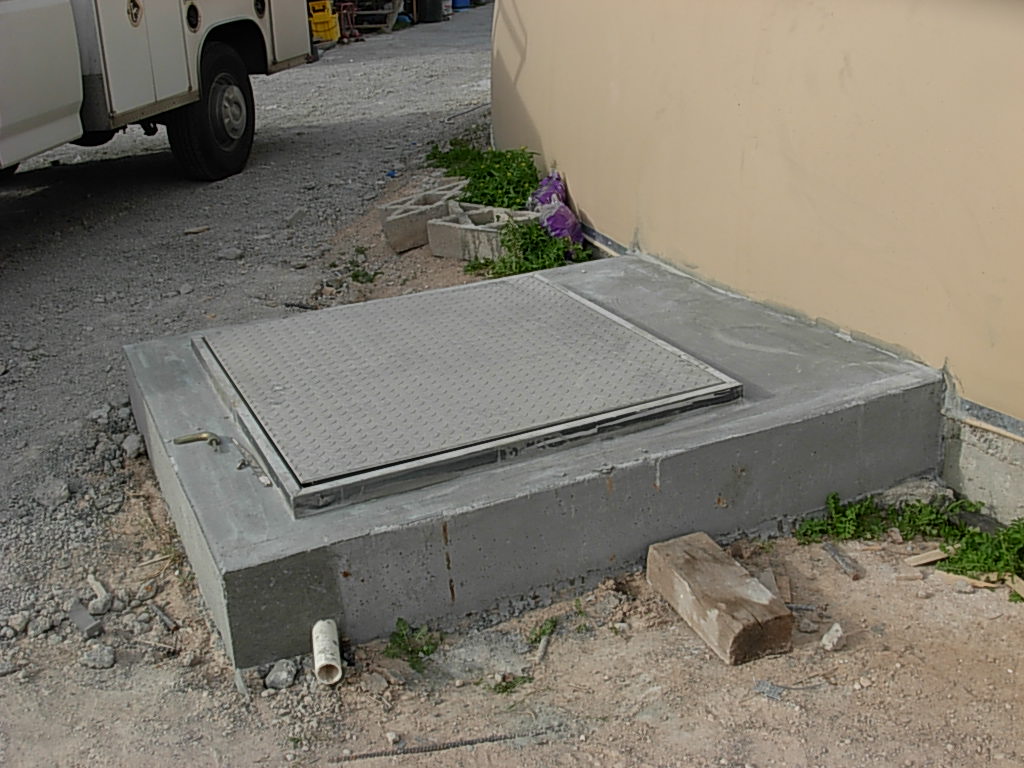
The closed egress showing the drain.
This makes sure no water pools in the egress frame and then drips into the basement.
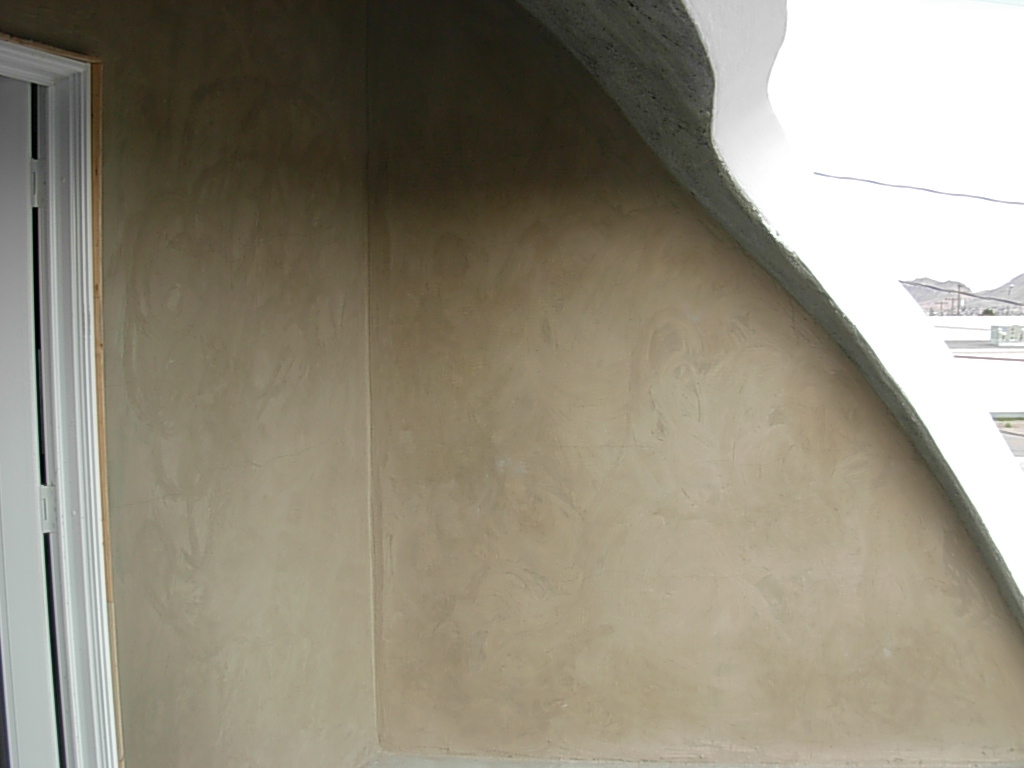
On the balcony, showing the smooth finish to the cement. It has a brown coloring agent added to the final layer that gets darker as it ages. No "gray" cement here.
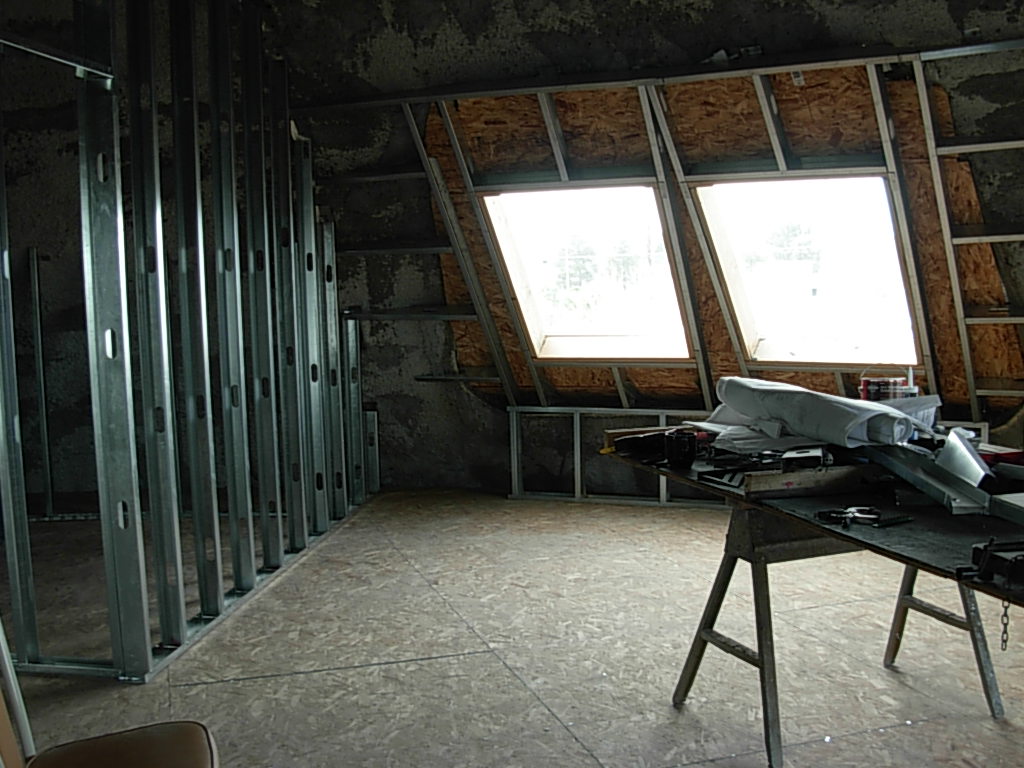
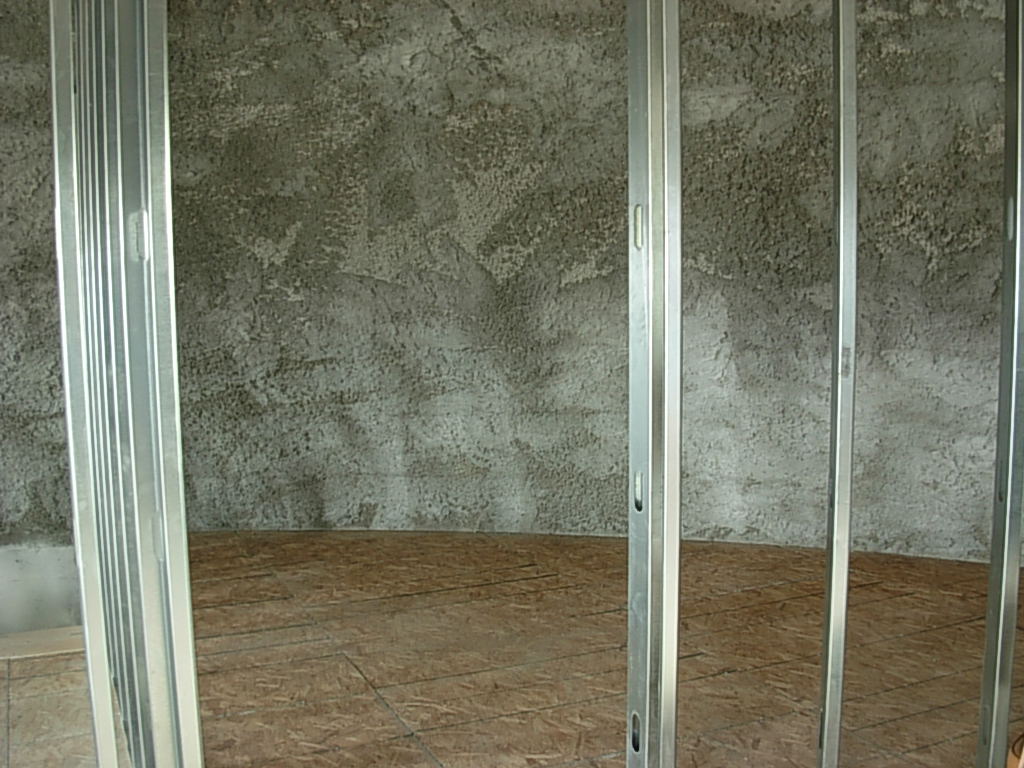
The sitting room from the center looking towards the northwest.
The kitchenette will be against the bathroom wall to the left.
Same place, looking north.

And northeast with the stairwell wall to the right.
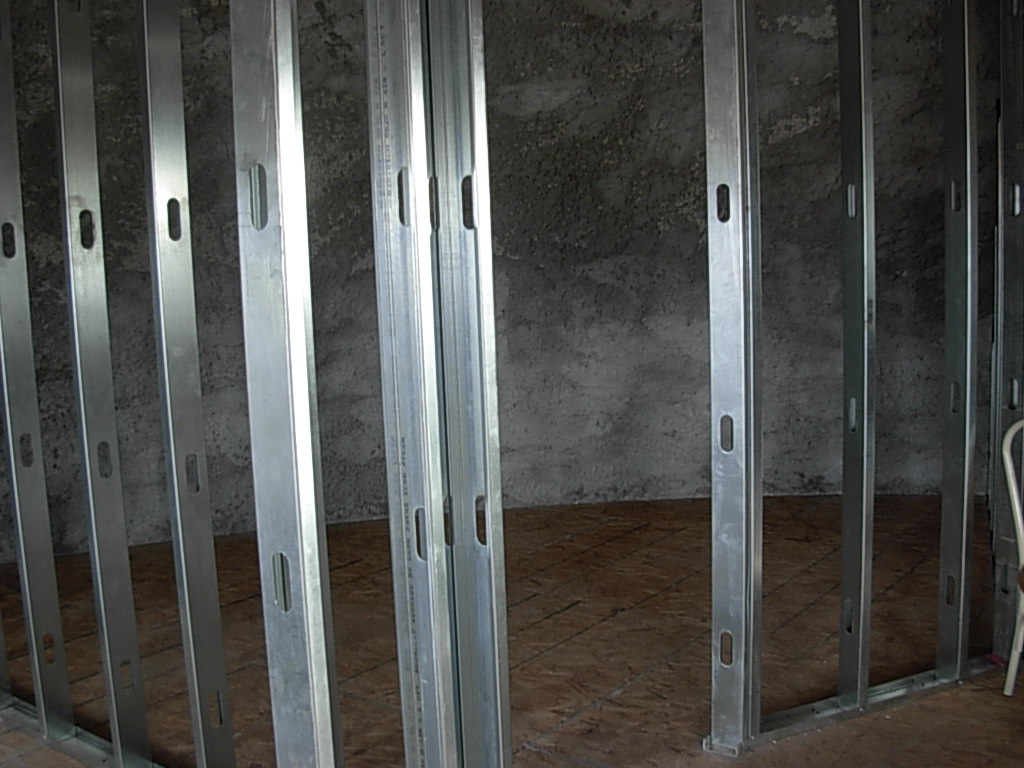
The master bath. The enclosed areas are from left to right: toilet #1, toilet #2, shower/sink room.
The back wall behind the toilets is 5' 6 1/2" high.
Not a problem considering that the area is for sitting.
Master bathroom straight ahead and dividing wall to the right.
The back wall of the bathroom is 5.5 feet high. The front wall goes all the way to the top of the
dome. The studs are 9 foot studs then the next layer was put on top of that. The dividing wall (right) and closet wall (left) are 8' tall with open tops for ventilation.
Dave's closet entrance.
A slightly different view of David's closet.
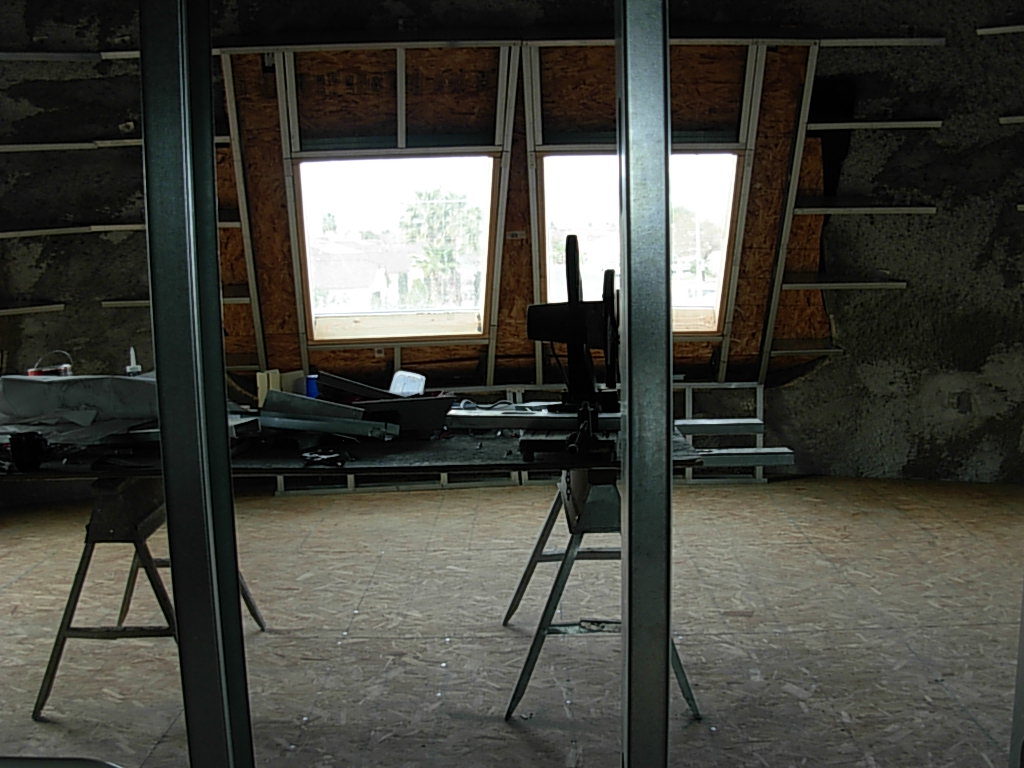
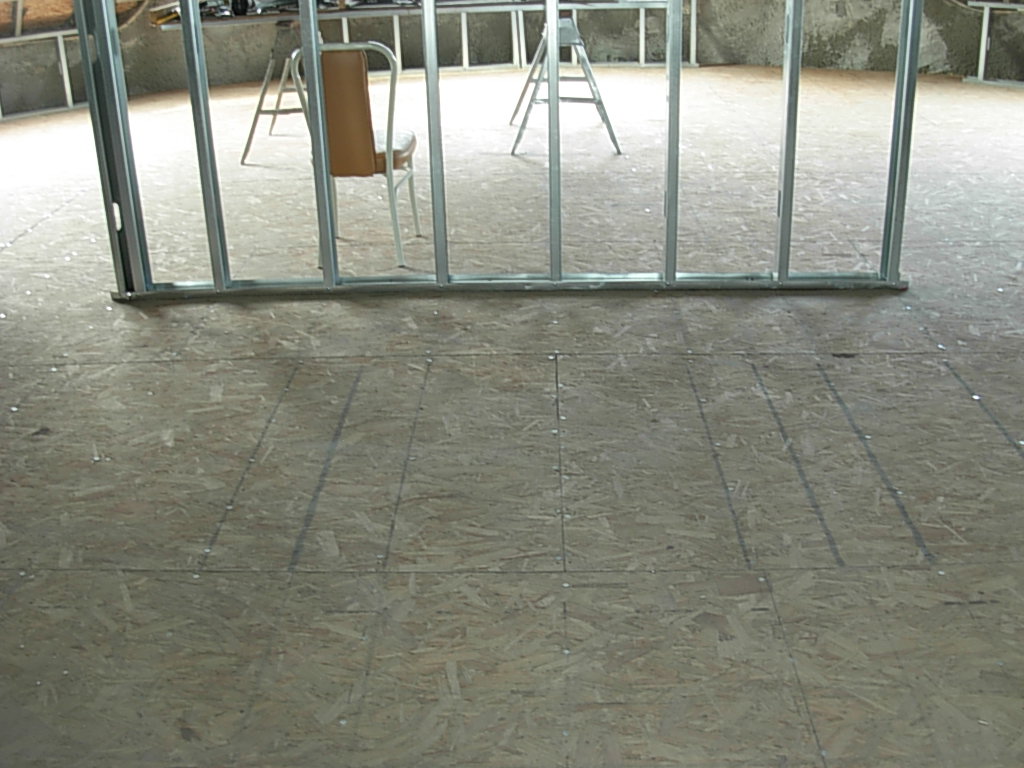
Stairway entrance doorway with upper landing, small flight down to main landing and to the left the long flight down to first floor.
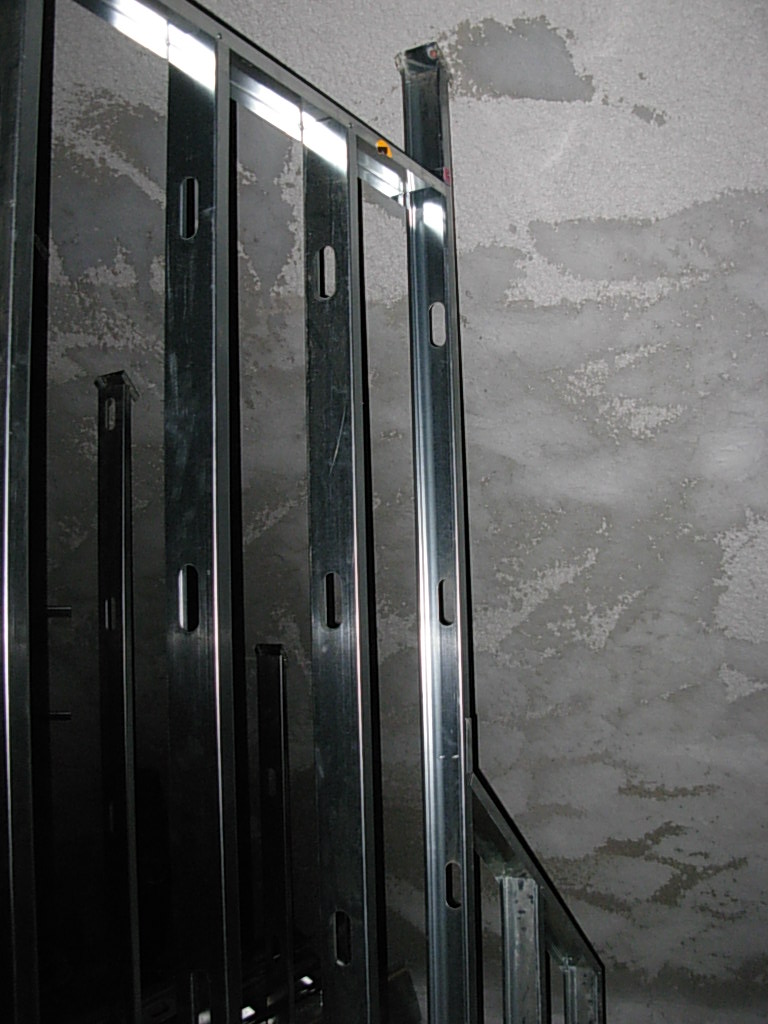
The next detail pictures are the far end of the center wall leading away from you in this picture.
This entire area will have a ceiling for sound proofing.
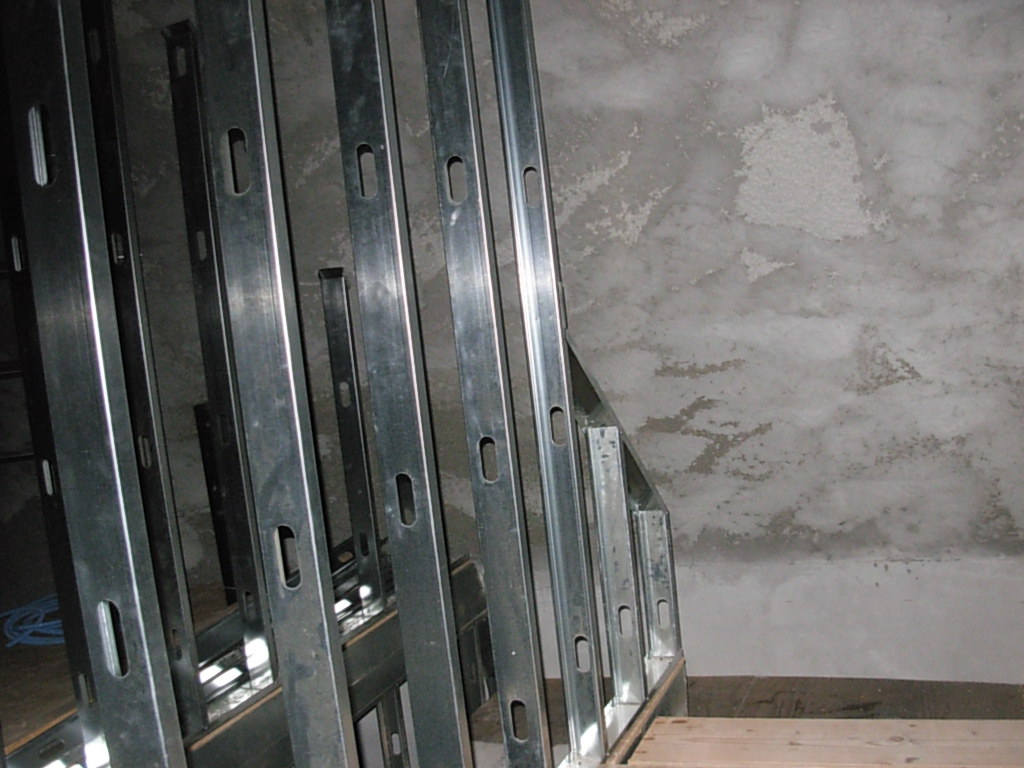
These show the "railing" detail from the upper landing by the stairwell doorway to the main landing.
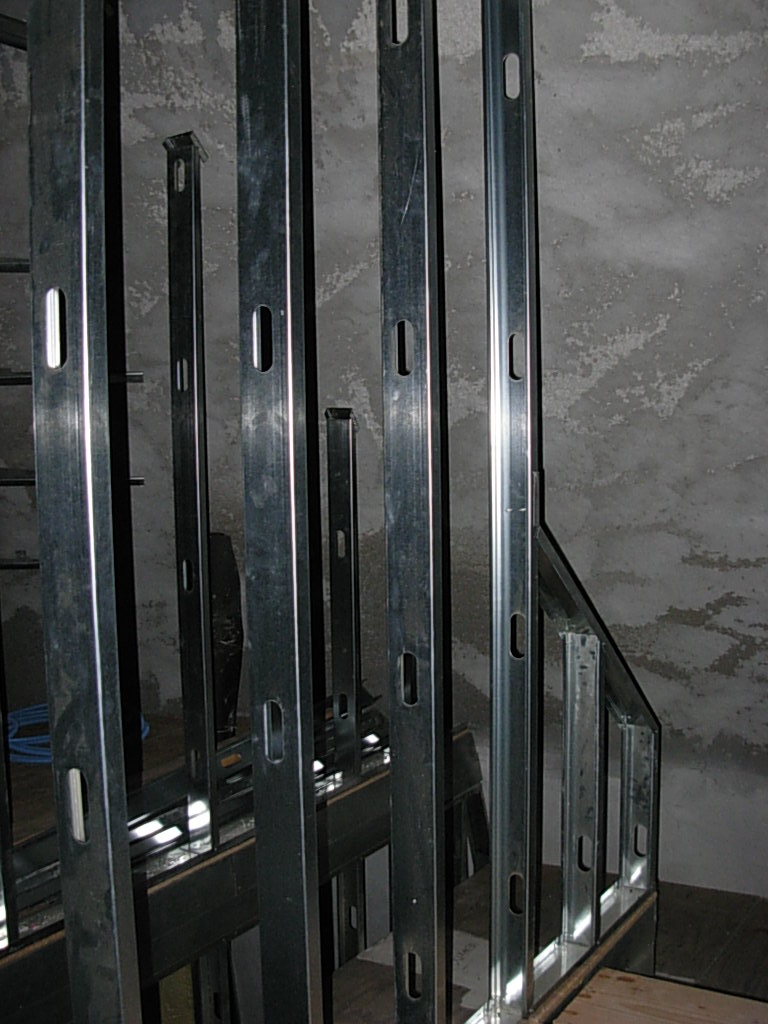
The stairwell ceiling will be above the upper cross pieces. That will make the ceiling 8'
above the second floor level and at a perfect height and location for the upstairs heating/AC module.
Su-z's closet entrance. The 8' walls will be open at the top like the dividing wall and Dave's closet for ventilation.
Showing more of the size of Su-z's closet.
Divider wall between the sitting and master bed rooms. Looking from the foot of the bed towards the sitting room.
The two downstairs bathrooms. The guest/public bathroom closest and suite bathroom farthest.
The white foam board is next to the front door in the front hall.
Looking into the guest bedroom from its doorway. The exposed wooden area is where the electrical
from the outside mounted electric meter box and heat/AC lines from the outside heat pump will enter the house.
The set back area to the right of the panel will be the guest room closet.
Barely visible at the right edge of the closet is the wood framing for the "hidden" door to the utility room.
Dave's note: The hidden door WILL have a latch on the closet side so that guests need not worry about visitors walking into their room from their closet.
The suite looking from the center hall doorway towards the front hall doorway.
This room is large enough that it could be divided into two bedrooms.
The upstairs sitting room could also be divided into three bedrooms for a total of seven bedrooms if desired.
(This is not including the basement, which is larger than most two bedroom apartments.)
An alternative would be to make the upstairs a "mother-in-law" apartment with one or two bedrooms,
living room and kitchenette and the downstairs as an up to three bedroom house.
Dave's note: These variations will NOT happen while I am living in the dome, so don't ask (as some have already hinted) to "rent" part.
This is subject to change if someone were to offer us enough to buy a few thousand acres and build
another dome just like this one in the hill country of Texas. That is Dave's alternate living location with some of the best deer, turkey, etc.
hunting in the country.
(Only "season" we have in Vegas is "Tourist Season" and they won't let us shoot any!)
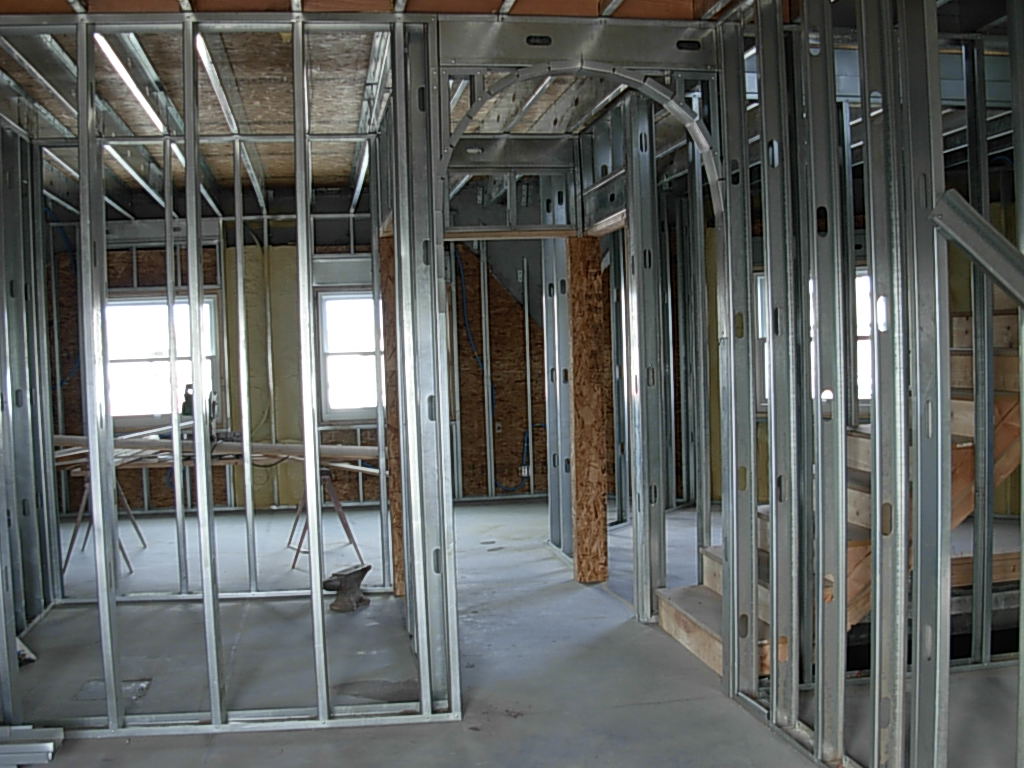
Looking towards the living room through the front hall arch. Standing at the front door.
The living room and breakfast nook areas from the front hall arch.
The french doors to the patio are to the right. The dining room is to the left close.
The kitchen is straight ahead against the far dome edge and the laundry room wall is to the left beside the kitchen.
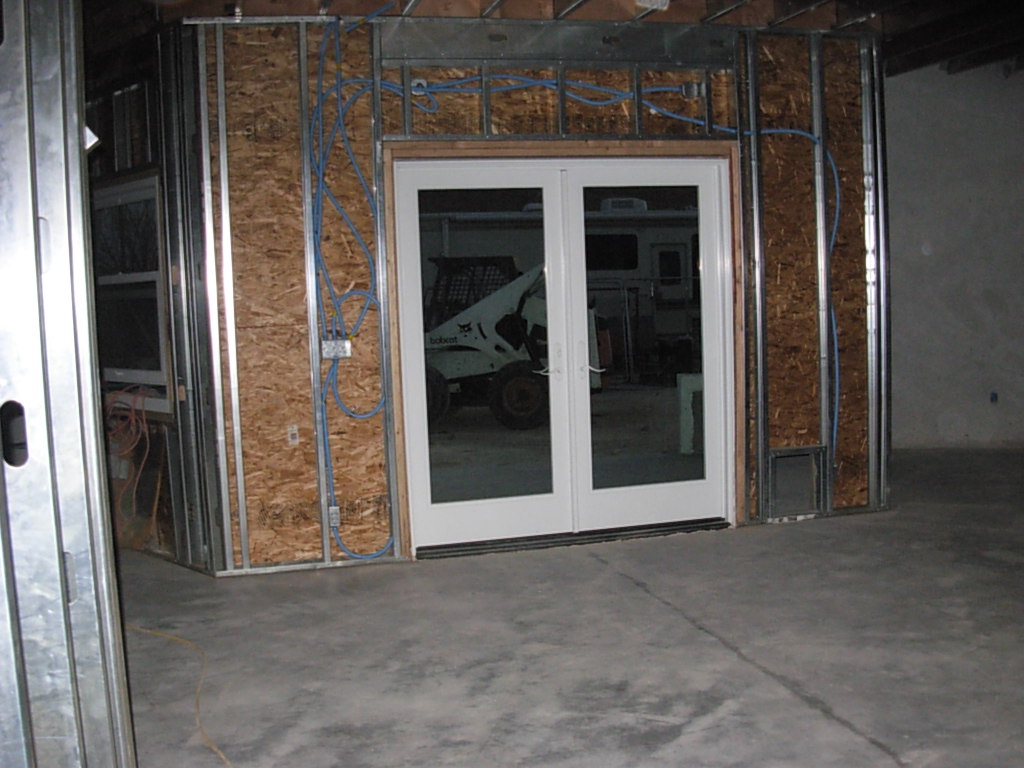
The patio inset walls showing the kitchen window and the french (people) doors with doggy door to the right.
The kitchen area. The pipes coming out of the floor are the kitchen water and drain lines.
The sink should be directly above them with the dish washer to the right of the sink.
A line can be tapped into the cold water line if we add a refrigerator with in the door water or auto ice maker.
More of the kitchen area showing the kitchen window to the patio.
There will be lower cabinets with counter top the full length of the window wall and along the kitchen wall to the utility room wall.
The kitchen wall will also have upper cabinets except for the space for the refrigerator.
The wall oven and microwave oven will be stacked in a cabinet at the kitchen/utility room wall corner.
The dishwasher will be in a bottom cabinet to the right of the sink and the sink will be in the counter top about centered on the kitchen wall. The stove will be a cook top unit in an
island in the center of the kitchen. The kitchen side of the laundry room wall will have floor to ceiling cabinets except
for a 3' coffee counter at the center hallway end of the laundry room wall.
From the living room, looking into the front hall towards the front door and suite doorway.
Note the sweeping curve into the front hall made by the curved wall of the suite bathroom.
The entrance arch (extending above the area shown in these pictures.) adds to the curved look.
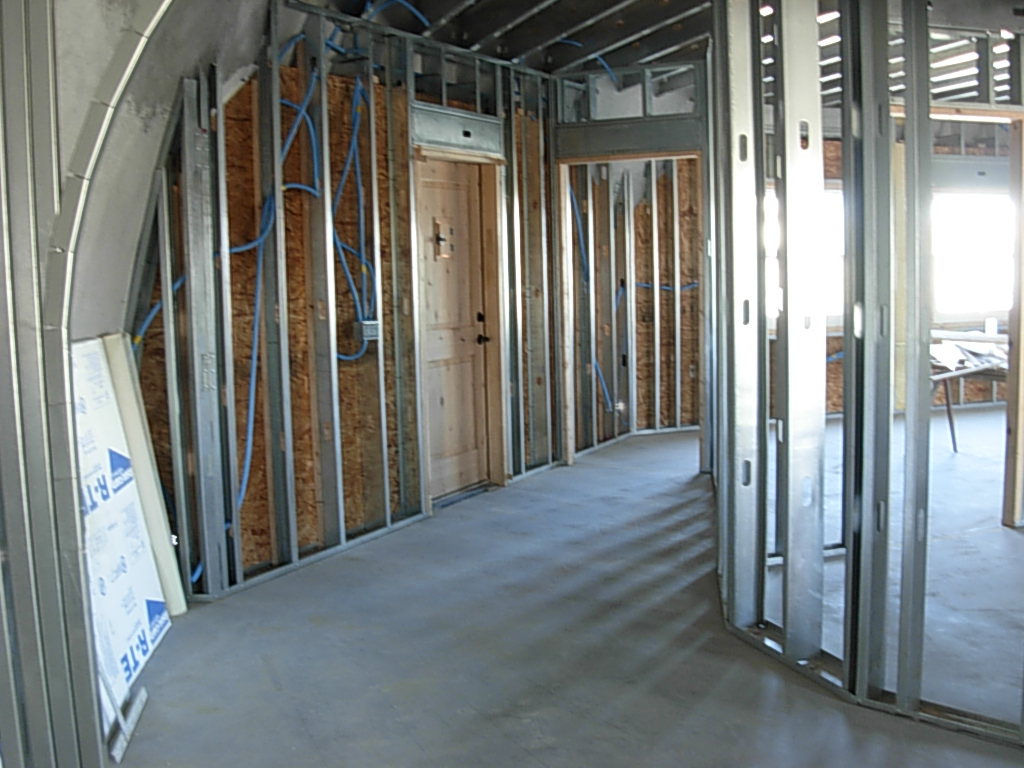
The center hallway with its arch. From left to right: guest bathroom, doorway into the suite, doorway into the guest room,
stairs to the second floor and laundry room wall.
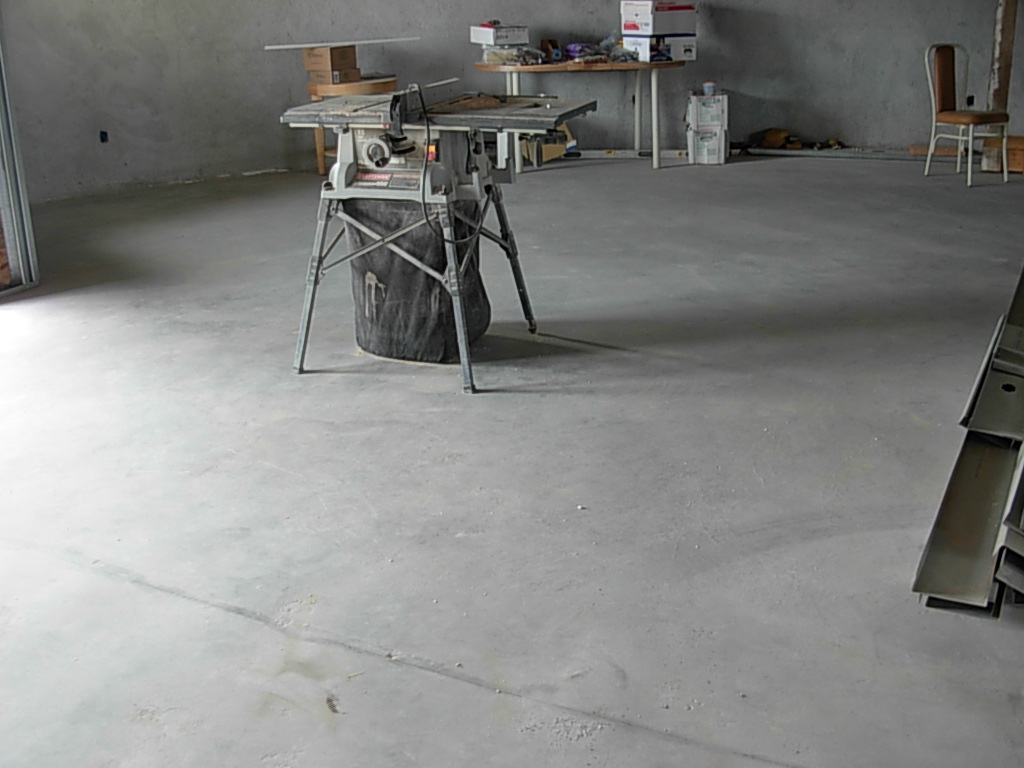
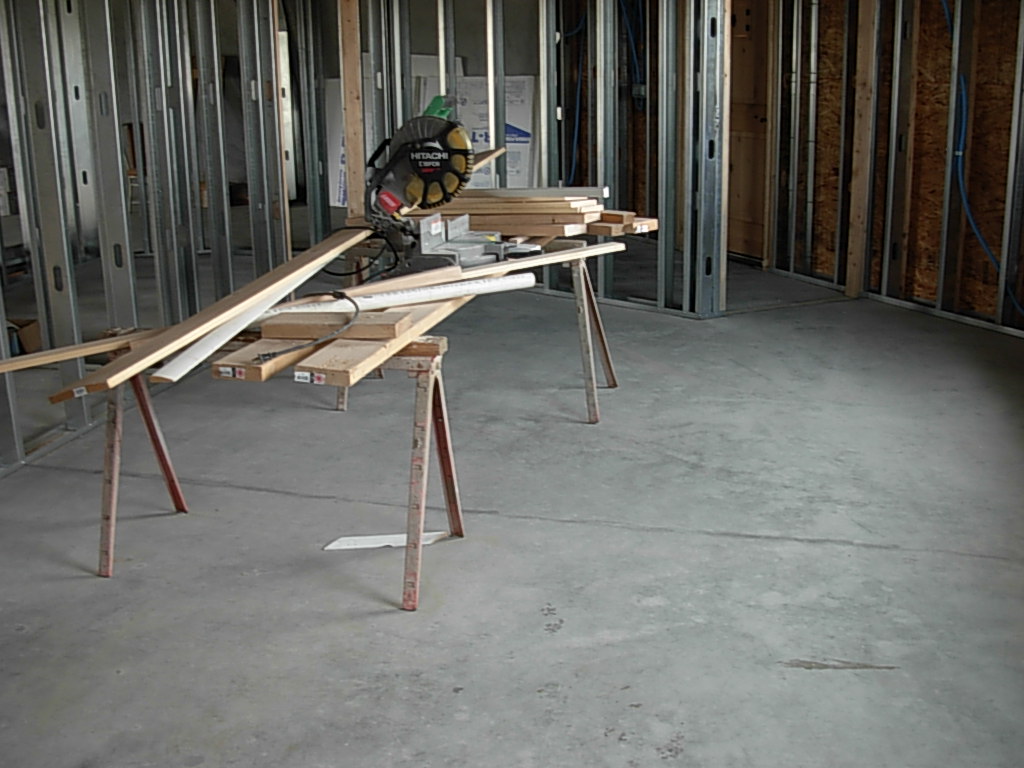
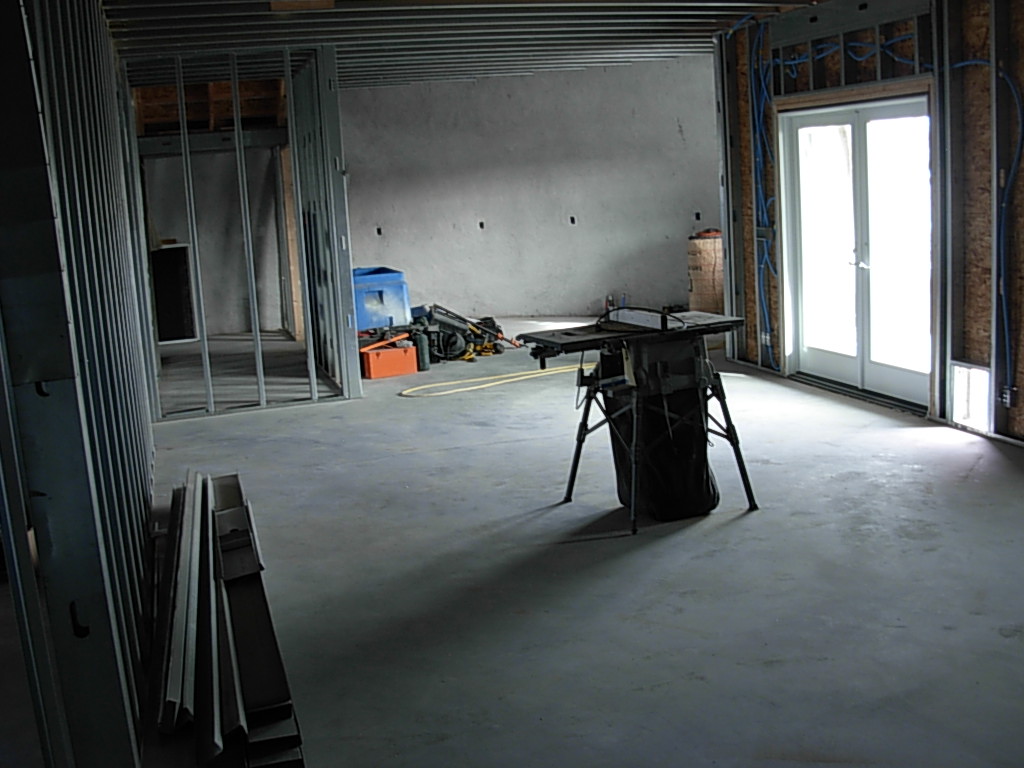
The dining room area. (The table saw is the left edge and the metal on the floor is the right edge.)
The breakfast nook will be to the left and the living room against the far dome.
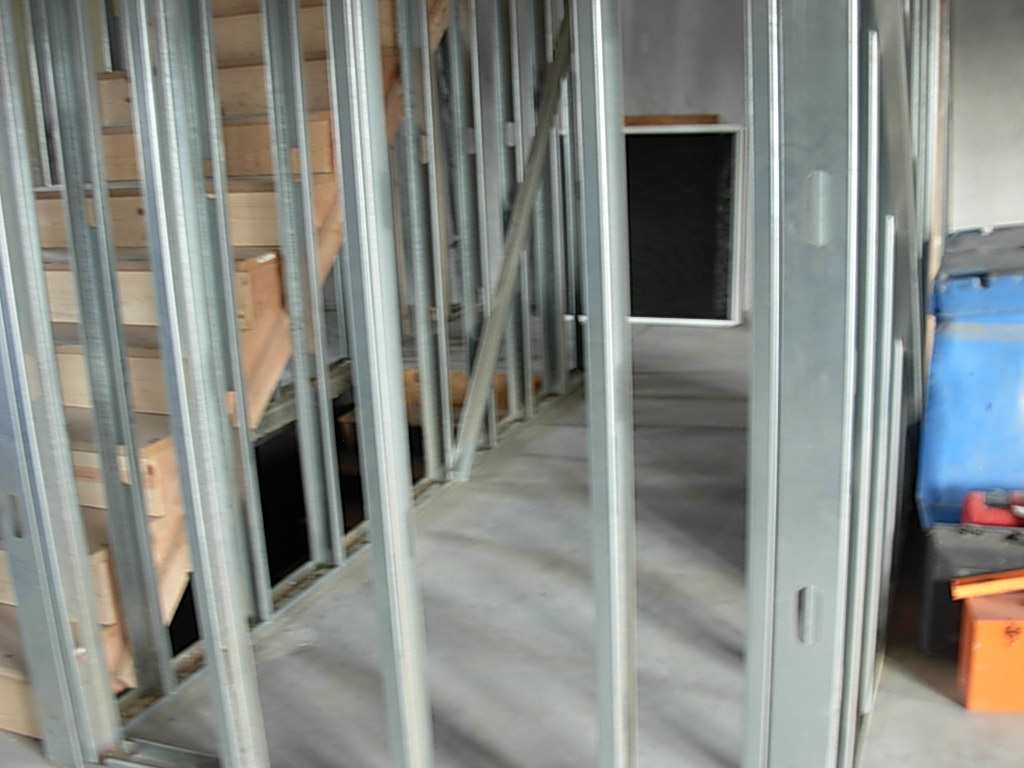
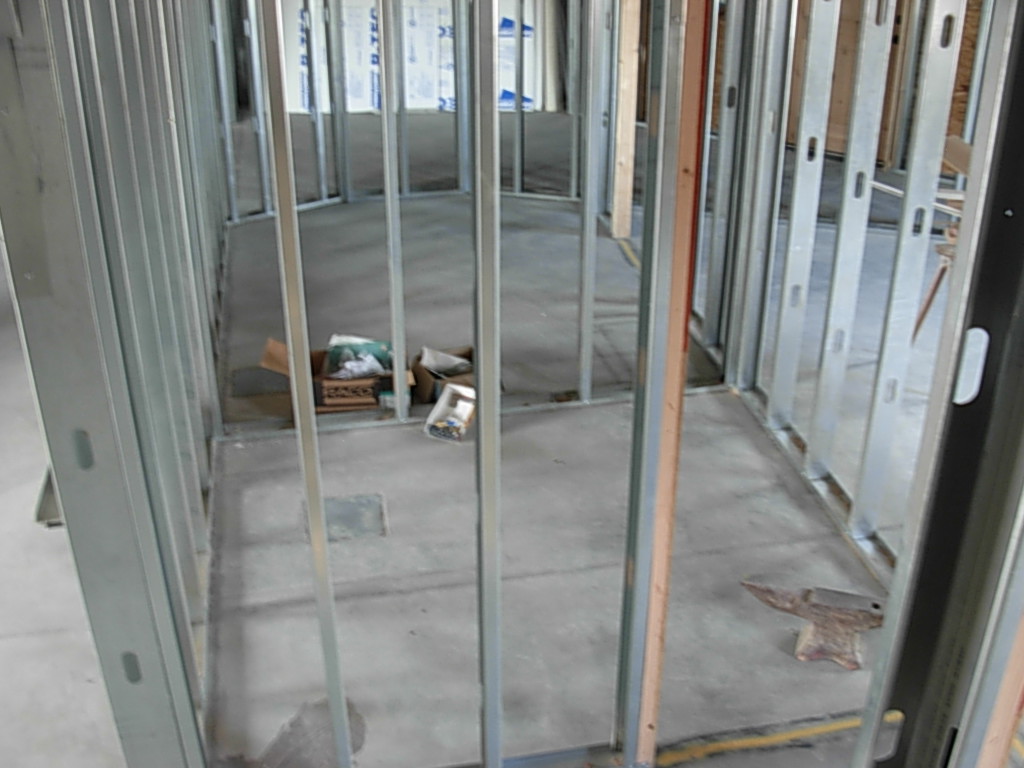
Through the laundry room wall with the utility room against the far dome and cellar stairs to the left.
(Under the stairs to the second floor.)
Utility room doorway. The laundry room entrance is through the doorway and an immediate left. The cellar stairs are just past.The utility room is to the right with the
skinny doorway into the guest room closet behind.
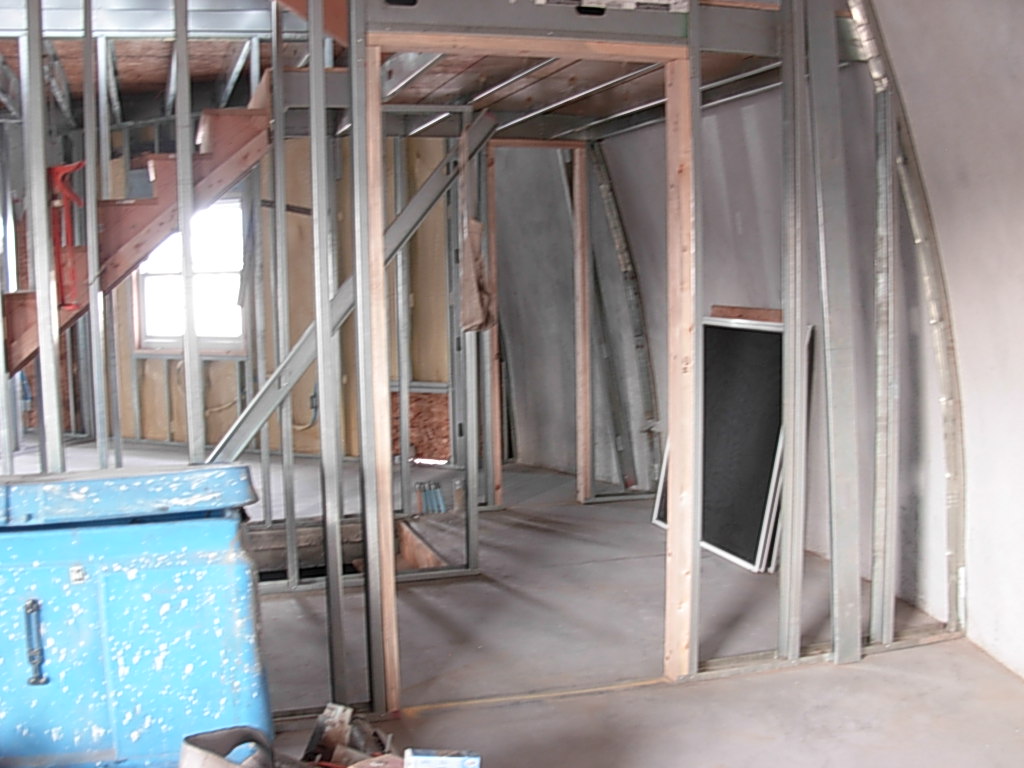
The basement stairwell. The smurf tube to the right is for the basement feeds.
The primary circuit breaker box will be in the wall above them.
The location of the stairs to the second floor over the basement stairs is visible here.